After Arrival Care Guide
Your #WellspringPlantMail 🪴📫 just arrived from a long trek with a hiatus from its favorite things—light and water. Just as you need time to recover from exhaustion and jet lag when traveling, your plants may be a little—or even a lot—stressed. So give your Baby Plants 🌱 a little time 🕙 and TLC ❤️. Read the steps below to see what to expect and just what your plants need after their journey.
1. Unwrap your plants as soon as they arrive.
Orders can sometimes be in transit for a long time and in harsh conditions like heat/cold, but we pack with care for a safe journey to you, and our plants usually do quite well. But being in a dark box for an extended period of time is not a plant’s ideal environment; so the sooner you unbox and unwrap, the more you increase your plants' chances of surviving and thriving.
2. Water immediately.
In transit, your plants will likely become a little dry or wilted and may even lose some leaves. While we get few returns, the number one reason is because a customer thought the plant was dead when it was actually just parched. We know because returned orders often survive the return trip to us and recover quickly with the help of a little aqua. So soothe your weary plant from its travels with regular, deep waterings, and it will likely perk up. Plus, watering your plant immediately upon arrival activates your 30-day guarantee.
Once you've rehydrated your plant, refer to the product listing to see how much water your particular plant needs. Better yet, check out our video guide.
3. Slowly reintroduce to sunlight.
Ever wake up squinting when someone turns on the light during your beauty sleep? Plants also sometimes “squint” after their dark traverse through the mail. They may become wilted or even bend to find a source of light. So don’t put your plant out in full sun just yet, even if the plant’s growing conditions say “full sun.” It will get there, but give it a couple days to acclimate and adjust. Then give your plant the light requirements shown on WellspringGardens.com and/or the plant’s stake.
4. Protect from heat and cold.
When you travel to a new place, it makes sense to check the weather to see if you should wear a t-shirt, a light jacket, or a parka. Similarly, your plant is moving from a nice, warm greenhouse and may not normally thrive in your neck of the woods 🥶. But with some adjustments, you may successfully grow any plant anywhere.
On our website, we list each plant’s USDA hardiness zone. The U.S. Department of Agriculture created the hardiness map to help gardeners identify the areas in which plants tend to grow well based on past average temperatures. On the USDA's site, you can enter your zip code to identify your hardiness zone.

How does knowing the zone help you? Basically it helps you determine if your plant is up to the specific characteristics and challenges of the climate in your part of the country or if you should grow indoors/provide winter protection.
Let’s say you live in Ft. Lauderdale, Florida which is zone 10. On the map, you will see that the coldest temperature is typically 30 degrees Fahrenheit. If you buy a plant listed within zone 10, you generally won’t have to do anything to protect it in the winter because it can take temperatures down to 30 degrees. But if you live in Gainesville, Florida (zone 9a), where temperatures sometimes dip down to 20 degrees Fahrenheit, the plant will need a little help from you to stay warm. Learn how to care for your plants in the cold of winter on our blog.
5. Repot.
We highly recommend growing your baby plant out in a larger pot to increase your chances of success. Repotting helps focus the water and nutrients directly towards the roots. If the pot is too large or if your baby is planted in the ground, the water and nutrients have more room to spread to the wrong places where they aren’t needed. This can be extra detrimental to a baby plant that needs all the support it can get as it’s growing up.
You don’t have to repot immediately, but the sooner you do, the more room it has to grow.
Here are some general repotting tips:
- Start with a pot that's 1-2 inches larger in diameter than the starter-sized pot it came in. A pint or quart would be great.
- Use a good general potting mix or make your own. We find two parts peat to one part perlite works well for most plants, allowing it to be well-drained but still moist.
- Transplant to the ground or the next pot size up once the roots fill to the bottom.
For more help with repotting, check out our repotting guide.
6. Fertilize to fuel growth.
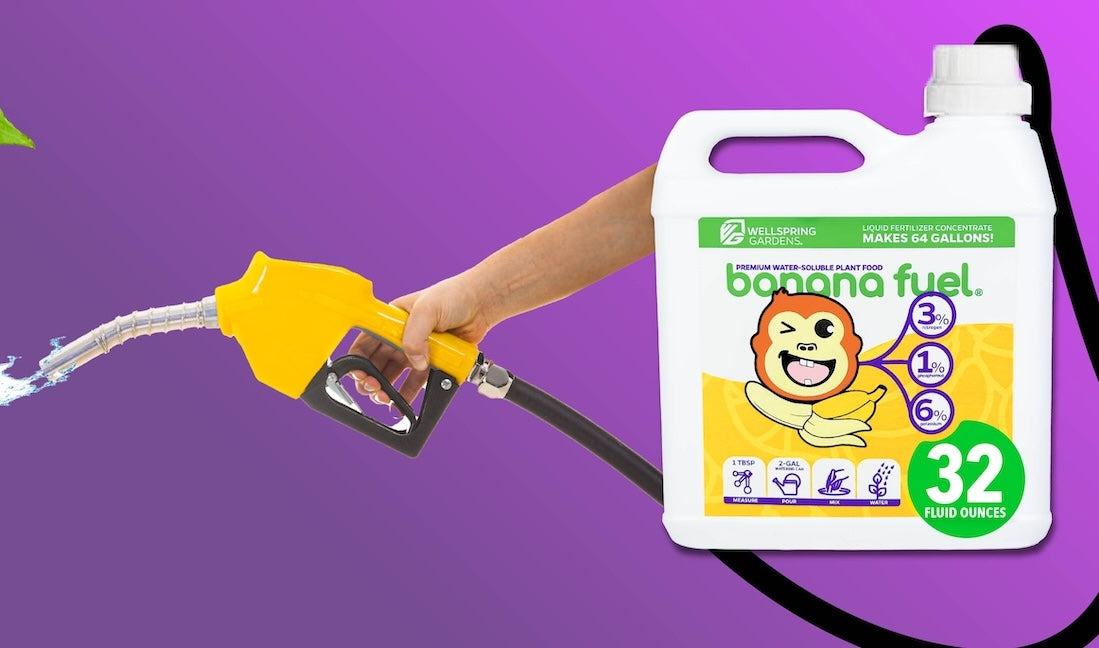
A few days after giving your plant a chance to acclimate to its new pot, and especially if it's springtime, it's a great time to encourage growth gains by fertilizing. You can generally fertilize once a week. If it's fall or winter, fertilize less often (about once a month) or not at all so your plants can focus on strengthening their root systems instead of supporting new growth. Then, once spring comes again, fertilize weekly to help your plant baby achieve new milestones. (Side note: Do not fertilize carnivorous plants.) Check out the video below to see for yourself how our fertilizer helps fuel your plants' growth.
7. Expect some imperfections.

Don’t worry if you see a few dead, fallen, yellowing, blackened, or browning leaves. This happens in nature as part of the normal growth cycle and can certainly happen during time in the mail, too. Look at any plant in the great outdoors and you’ll see imperfections on individual leaves. Leaves grow, die, and regrow—all great signs that your plant is alive and actively growing instead of artificial.

Most plants you find at your local garden center are what we call cast-iron plants, meaning they're as tough as nails and it takes a ton to kill them. They’re generally easy-to-grow, foolproof varieties that even the most rookie green thumb can keep alive. The plant’s resiliency paired with the fact that it doesn't go through the mail means it may look close to perfect—but the trade-off is that the varieties are less interesting and easier to get than most of the rare tropical and subtropical finds at Wellspring Gardens.
8. Get specific care info for your plant.
The above tips are general practices for helping your plants survive and thrive after arriving at your door. For care information for your specific plant, check out our Plant Care Guides.
Just like our garden, we’re always growing and expanding our care info, too. So if you don’t find your plant or the topic you’re looking for on our site, we encourage you to access the vast gardening resources online—especially sites with a .edu address. One resource we love is the University of Florida's Garden Plant Care Database. Go Gators!
9. Experiment
Most of our packages reach their destinations in great condition, but on the few occasions they don't, our plants usually recover quickly. Although you should expect some stress, to determine if your plant’s condition is worrisome, follow our unboxing flow chart below.

You have 30 days — from the delivery date — to experiment with your plant. Head over to our Plant Care Guides page to learn how to take care of your specific plant.
Keep faith in your plants and give them a chance, and they'll likely recover. But don't just take our word for it. Check out the time-lapses below, which show plants rebounding swiftly after being in transit for an extended period of time. You can see more time-lapses and other videos on the Wellspring Gardens YouTube channel.
Banana plant revives after being in a box for 2 weeks
Elephant Ear revives after being in a box for 3 weeks
Plant didn't recover from its travels?
We just updated our 30-day Guarantee! Full, easy refunds if your plant doesn't recover from its travels. Just head over to our Returns page, fill out a quick form, and you'll be on your way to getting refunded. Now that's what we call risk-free experimenting.
Happy planting! 🪴


